Cable management in a server rack is something that might be overlooked because it isn’t necessary for basic functionality. Still, what it can do for you is save money, time and make your rack look professional. All that’s in the way of having an organized server rack that looks great is learning the best methods to route and store cables.
Planning your cable management
It’s best to have an idea of where your cables will be routed before installation and organization. If you connect cables before you decide to organize them, you will more than likely need to remove them all and restart.
Cable routing will be different depending on where the cables are coming from and entering. This usually means that cables will be entering from the top, bottom or connecting within the rack.
Patch panels usually connect to thick network cables that run through the ceiling, so you’re going to have a harder time fitting them into the sides of racks. A solution for this is to hook and loop tie all cables going to one panel and then running patch cables through a Horizontal Cable Manager.
When connecting cables within a rack, it’s a bit more simple to run cables down the side of a cable management bar. In this case, you will have hook and loop or zip ties to keep all cables held against the bar.
Either way, the main idea is to keep cables tied together that run to a similar place. You want to make groups of cables compact and keep them out of the way of places that need to be accessed.
Top cable management accessories for servers

Not all racks come equipped for top tier cable management which allows for more customization. Thankfully, most racks have the ability to attach extensions that help with organization.
- Vertical cable management bar. Many racks come with these already but if yours doesn’t, try to find one that is compatible. These bars give you more versatility in mounting power strips, hook and loop ties and vertical cable ducts. Essentially, all cables will be ran up or down the edges of the rack at some point.
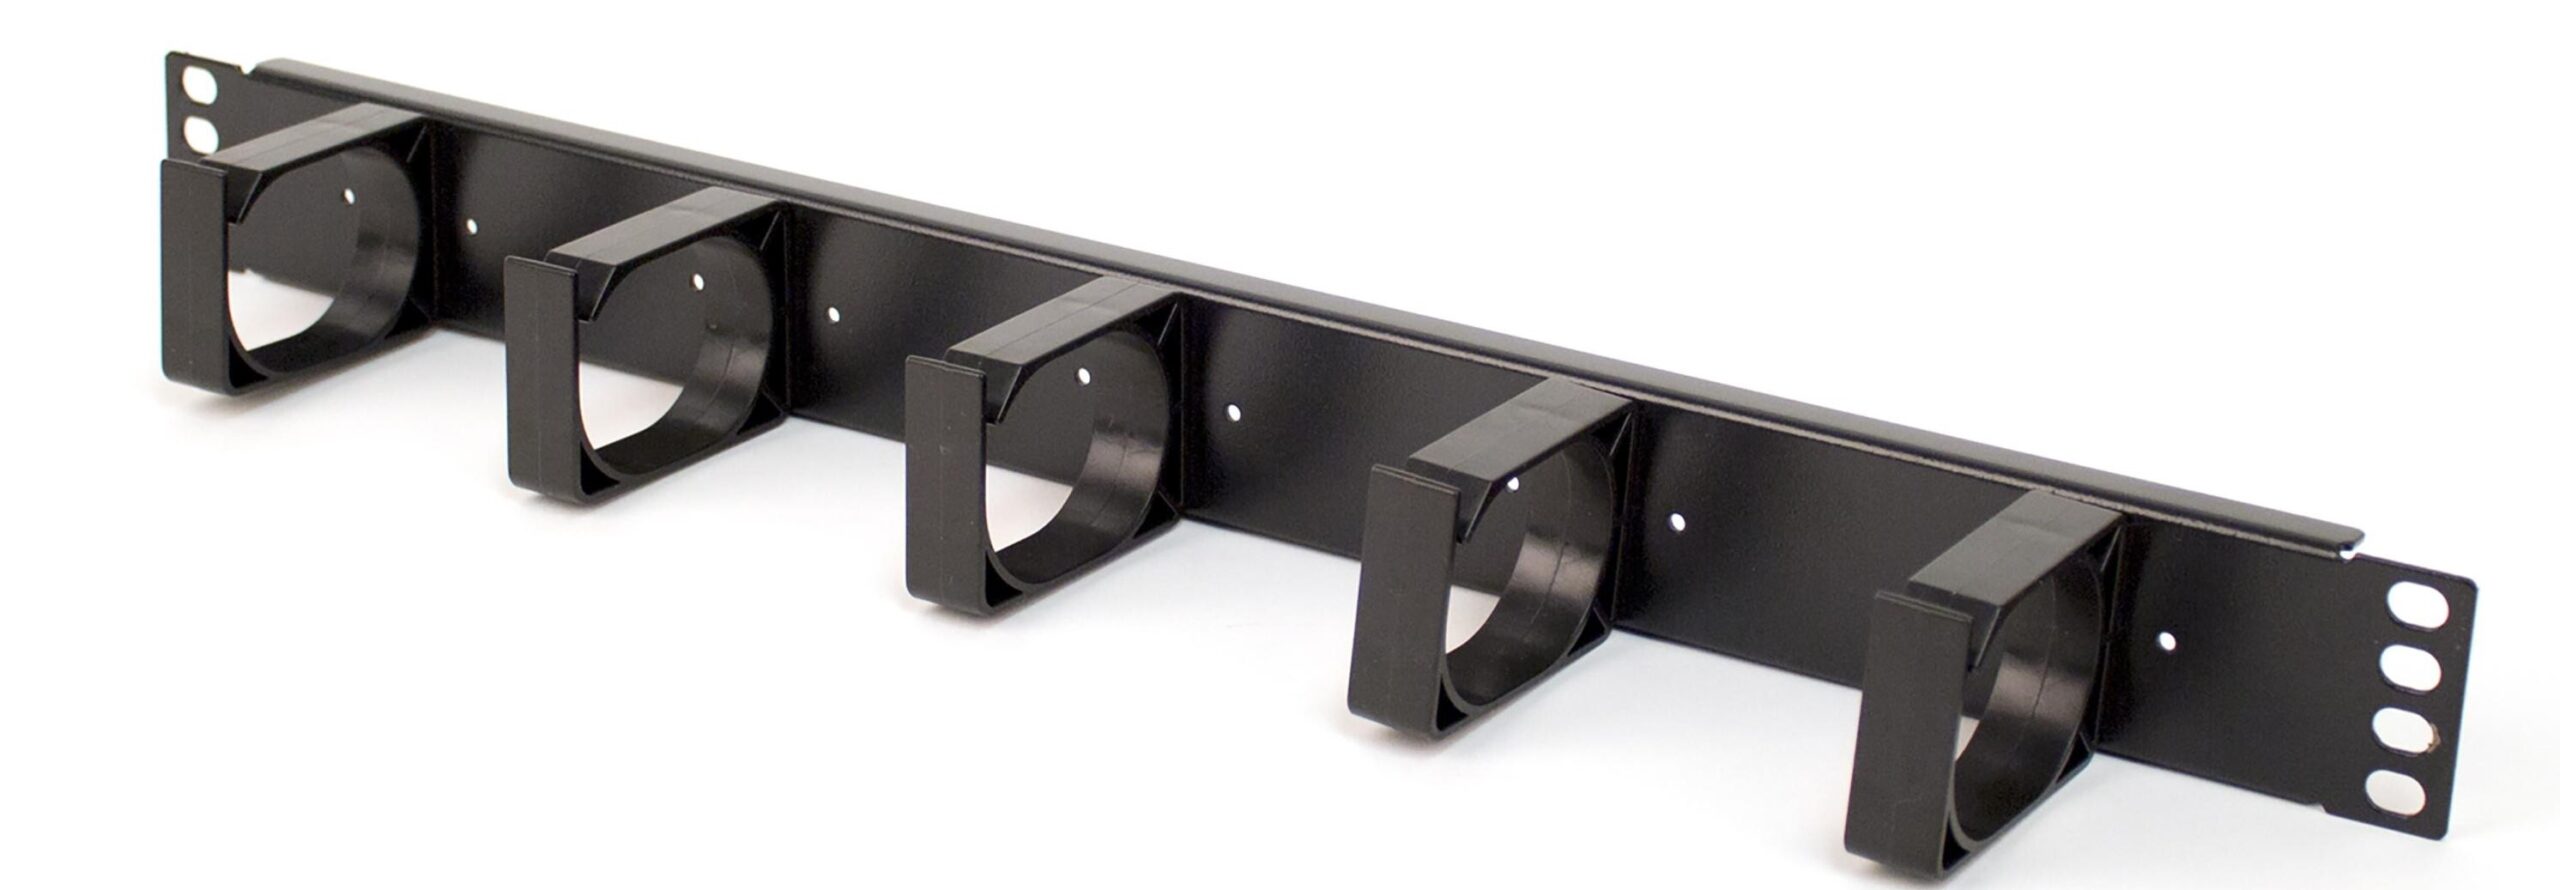
- The next equally important accessory is some kind of horizontal cable management product between equipment. Bars that use D-Rings are light weight and make it easy to lock cables in and out. Alternatively, you can use a cable organizer with a cover to secure the cables for a more sleek appearance. There are many stylistic approaches to cable management but at the end of the day, having something to aggregate cables horizontally and vertically is important.
- Hook and loop cable ties are fundamental to cable management. Even if you don’t have any cable management bars, you still can use these to clean up your network cabinets. We would recommend using hook and loop cinch or cable straps. You can also use zip ties, but these will have to be cut eventually, risking damage to the cables and creating extra waste.
Tips to make things easier
Now that you know what you need to manage your cables, here are some helpful tips to pull it off.
- Measure connection distance so that you don’t waste money and space on excess cables.
- Color code your cables. This will help you differentiate between different types of cables.
- Label both ends of your cables. This helps you know where exactly they go / what they’re being used for.
- Route all cables through the sides of the rack. This is why cable management bars exist. Keep cables out of the way of things that need to be accessed.
- Plan to expand. Chances are your setup will grow if it isn’t full already. It’s often cheaper and less time consuming to plan ahead.
- Use cable combs. They keep groups of cables organized and stop them from overlapping on each other.