If you want to mount a server in a 2 post rack, you need a 2-post conversion kit. They are easy to install, will keep your server safe and will save you the trouble of buying that new network rack.

Here at RackSolutions, we pioneered the concept of 2-post conversion kits back in 1999 when Yahoo! ran into the issue of not being able to mount Dell servers onto 2-post racks. Our engineers got to work and came up with a conversion kit that allowed Dell servers to be mounted in these racks in a convenient and safe way.
2-Post Conversion Kits
There are two different variants of 2-Post conversion kits: A Flush Mount Conversion Kit and a Center Mount Conversion Kit.
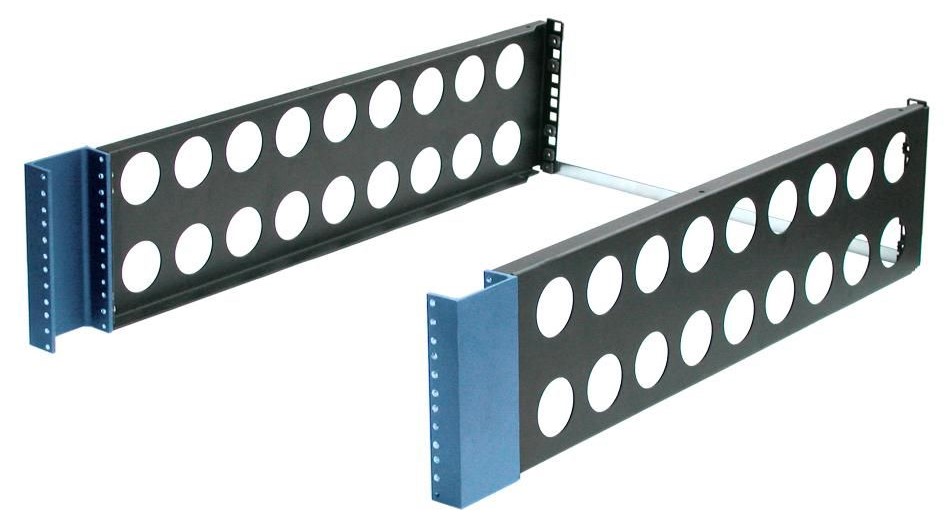
Flush Mount Conversion Kits are cantilever style mounting brackets that allow users to mount servers flush into the 2 post rack. This will give the 2 post rack an appearance similar to a 4 post rack, but there won’t be any support from rear posts.

If you decide to use a flush mounting bracket, you will need to make sure that your 2 post rack is supported on the ground. This is typically done by bolting the rack to the floor.
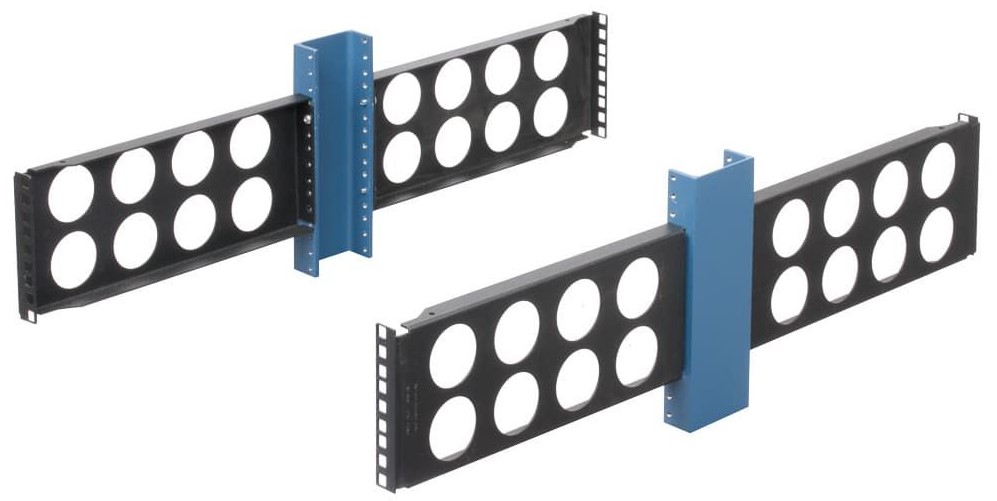
Center Mount Conversion Kits allow for a server’s weight to be distributed even through the 2 post rack. We would still recommend adding rack support while using these mounts, but the weight balance shouldn’t be as dramatic as when using flush brackets.

The center mount kits are very customizable, with rack units ranging from 1U to 7U and support for different upright sizes. These are the same brackets that we designed for Yahoo, and it helped them fill up tons of 2-post racks with full sized servers.
Each bracket in the conversion kit will have EIA square holes, which are standard for 4-post racks.
2-Post rack server mounting instructions
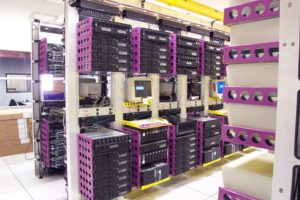
In order to install 2-post conversion kits, you will need a 2-post rack that has uprights with two areas of attachment. For instance, the converters are not compatible with racks like these that only have holes in one area of each post.
Whether your rack has square, round or circle holes, all equipment needed to install will come with the kit.
Center Mounted Conversion Bracket
- Attach all four brackets to the rack with the provided screws
- Square hole: Use 12-24 cage nuts with 12-24 Philips head screws
- Round hole: Use 12-24 or 10-32 nuts with 12-24 or 10-32 screws
- Threaded hole: Use the appropriate screws for your rack’s thread size
- Once screwed in place, the servers themselves will be mounted in the same way that they would if you had a 4-post server rack.
- Slide the servers in between the two rails and then use the mounting screws to secure it in place. This will provide the server the support needed on both ends of it so it will remain securely in place without any unsafe pressure points.
Flush Mount Conversion Bracket
- Attach the brackets to the rear hotels in your uprights
- Square hole: Use 12-24 cage nuts with 12-24 Philips head screws
- Round hole: Use 12-24 or 10-32 nuts with 12-24 or 10-32 screws
- Threaded hole: Use the appropriate screws for your rack’s thread size
- If you have a Dell server, attach the “059” adapter brackets to the front holes in your uprights
- Connect the 19” rear cross-brace to the rear of your brackets. You can do this using two 12-24 pan head screws and two 12-24 cage nuts
- Last, mount your rails as you typically would in a 4 post rack
For reference, here’s a video demonstration on putting the screws in an 059 bracket.
Protecting the Servers
Of course, a 2-post rack doesn’t have the same security as a 4-post rack, so it is still important to make sure to take care when working around these servers. If someone bumps into them, it could knock cables loose, or even damage the server.
Fortunately, these racks are typically used in data centers and server closets where people don’t typically spend a lot of time. The process of mounting a server in a 2-post rack is surprisingly easy and affordable.
CLICK HERE TO VIEW RACKSOLUTIONS LINE OF 2-POST SERVER RACKS