Putting together an entire server rack can be a delicate process. Of course, you’ve probably heard some good tips on building a server rack, but maybe not any odd, yet common mistakes.
We created a list of issues that you might not consider until they’ve already happened. From stripping a screw hole to baby’s pulling fiber optic cables, here are some happenings to beware of.

Build from the ground up
Server racks are designed to support a specific weight capacity, regardless of where the weight is inside of it. Still, if a rack becomes ‘top heavy’ it can tip over.
For your own sake, you might want to consider leaving the heavy stuff at the bottom. Some rails already require 2 people to install. Imagine needing to pull a UPS off of the top shelf on your own.
Stripping a rack hole
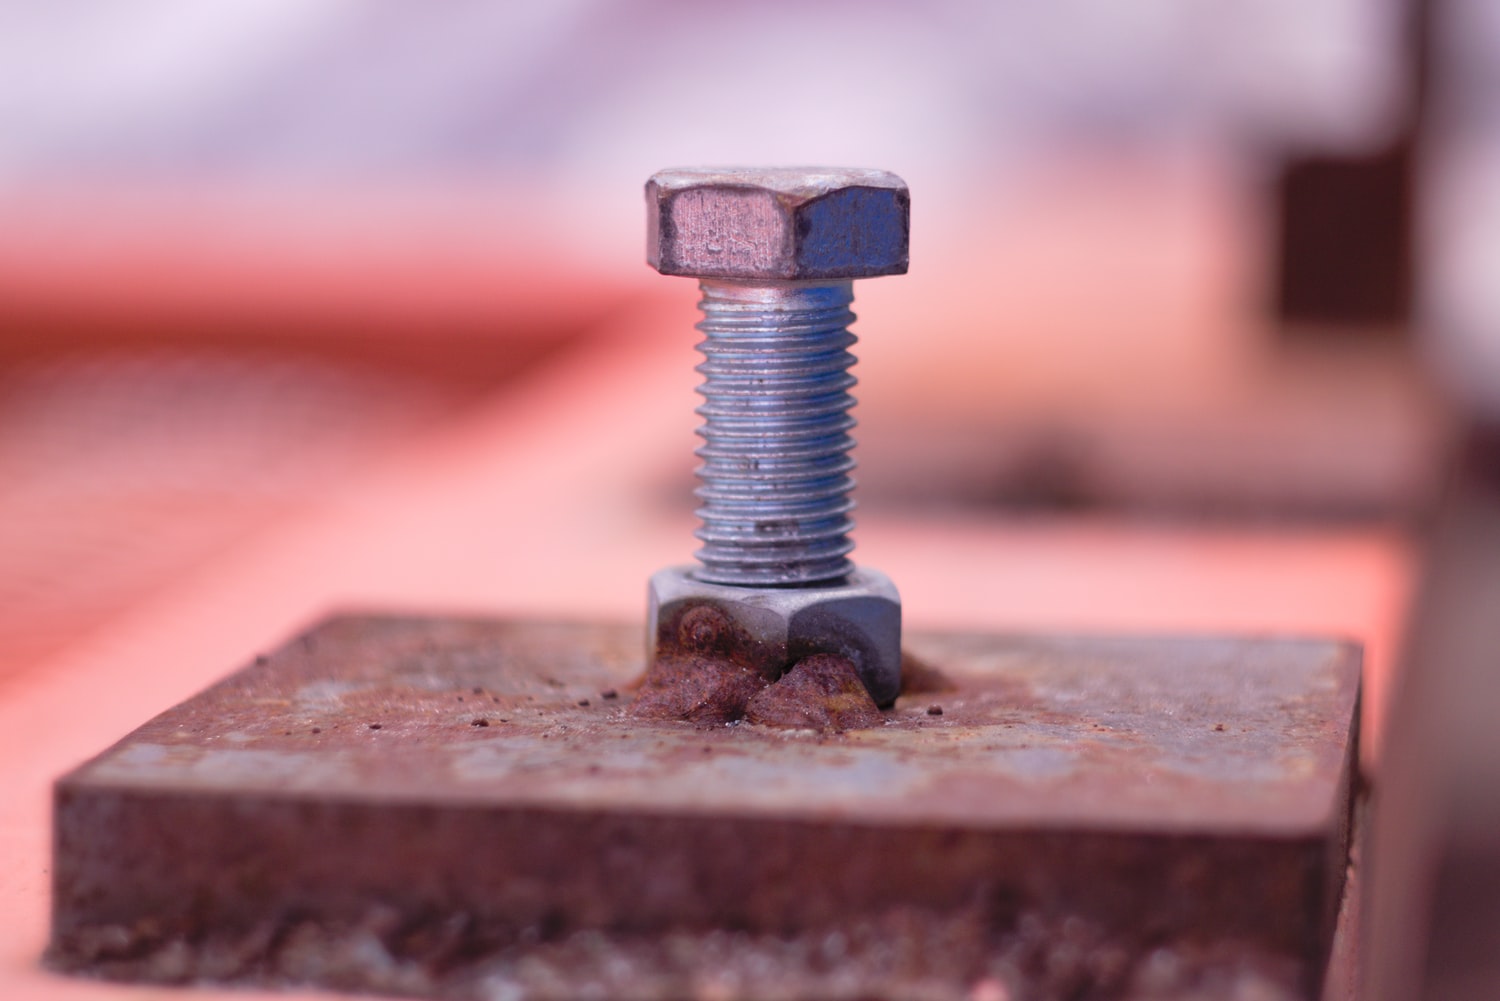
Most racks these days use square holes, which means most of the time you will be using cage nuts. The great thing about cage nuts is that you can remove and replace them easily if ever stripped.
Still, if you’re purchasing a refurbished rack or one from an OEM, there’s a decent chance you’ll have threaded holes. If you end up stripping the threads of a server rack hole, there’s not much you can do to repair them.
Someone ran into this issue on Reddit and this was the top response:
“Get a new rack with the square cutouts. Not worth the time or energy to fix.” – Reddit User
Not buying cable management accessories
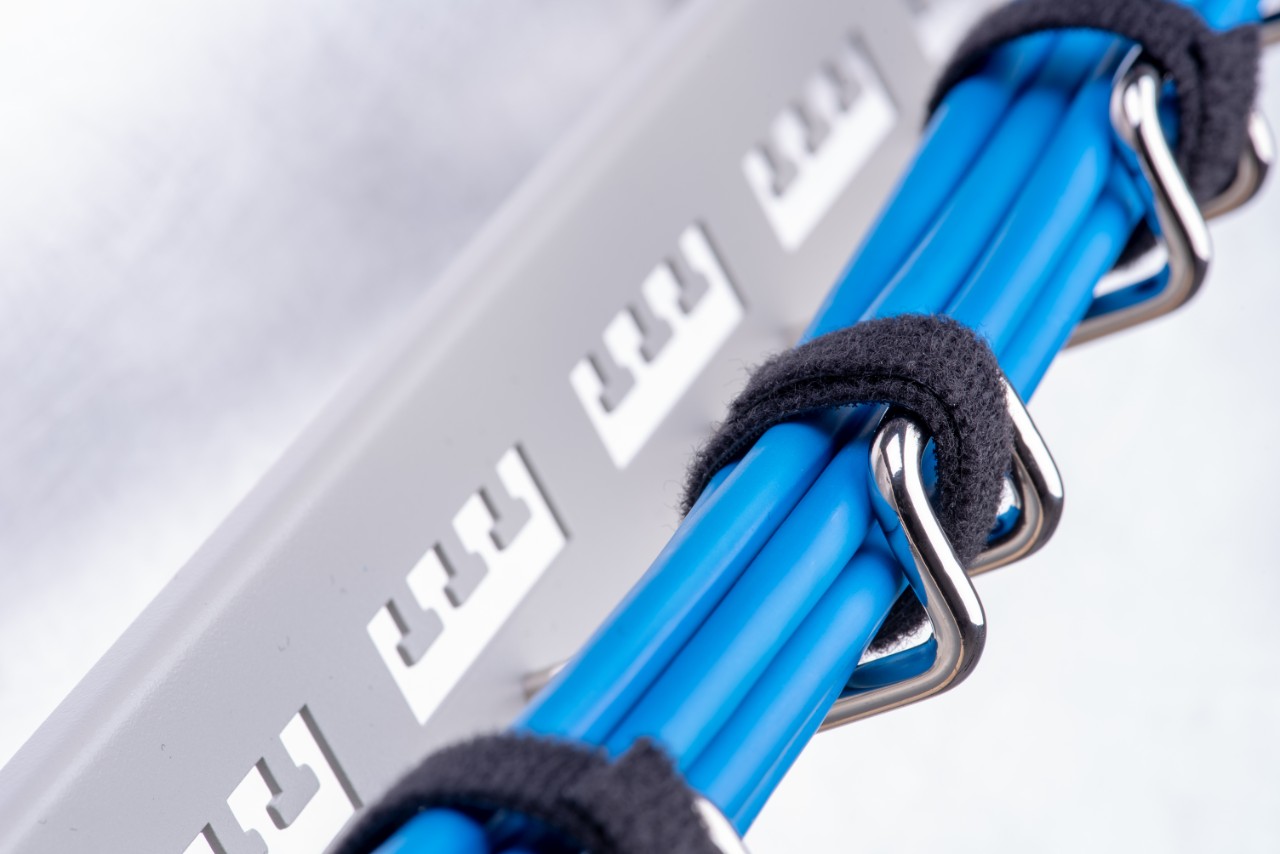
Not planning out your cable management ahead of time is one of the worst things you can do. There are plenty of people who don’t think they need any cable management solutions until it’s too late and then are forced to disassemble everything to fix it.
Rearranging cables means that you will need to accept downtime, which might be impractical depending on your situation. If you end up in this situation, make sure that your cables are color coded and labeled for future ease of maintenance.
Leaving it open around children

Kids like to be entertained. To them, watching you put together a server rack would be akin to watching paint dry.
They are also unpredictable, and might find playing with fiber optic cables to be enjoyable. Some would argue that this risk depends on parenting skills, but it’s best to build when they aren’t around. Just in case.
Servers should should be placed into rails with 2 people

Even if you are strong enough to lift a car, it’s a good idea to have someone assist you with server installation. If anything were to happen while lifting the server into place, it’s more probable that you won’t break any equipment if there is another person there for support.
Another mistake that ties into the idea of having another person present during installation is to evacuate children from the room. There’s a strong chance that infants or young children will be bored while you set your rack up, and they can be quite unpredictable at times. Your equipment is expensive, so it’s best to reduce all risks.
Know the physical dimensions of all of your components

Before purchasing any racks or rails, it is essential that you know the dimensions of networking equipment. Your rack will have to be able to handle the width, depth and height of your current and future equipment.
There are common standards when it comes to sizes, but the more equipment you have, the harder it is to keep track of everything. Once you start adding accessories, the line between what fits and what doesn’t becomes thin.
Not having enough cage nuts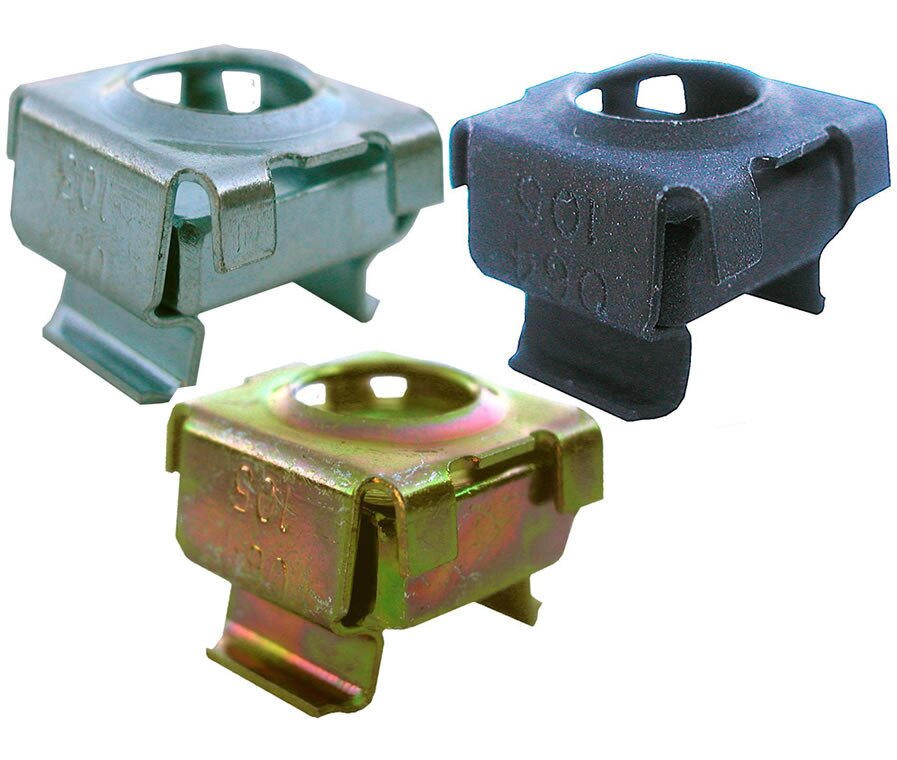
Cage nuts have become the lifeblood of server rack mounting. They are simultaneously inconvenient and essential to the standardization of mounting equipment.
Oftentimes, these aren’t shipped along with square hole racks, so make sure to pick them up individually. They also are prone to breaking, so you might want a few more extra than you need.
Shameless plug: this makes installing cage nuts way easier.
Be careful building DiY server racks
Saving money wherever possible is smart, but various standardization can make it difficult for an individual to build a rack with precision. Here’s an example of someone who didn’t figure out that something went wrong until their DiY rack was finished.
“Making a DIY rack out of the wooden frame and set the width between rack strips at exactly 19″. Well, as it turns out not all manufacturers are honoring this and the inside between rail strips should be 1 cm (0.5″) wider to get in UNifi switches, Supermicro servers, etc. Patch panels were fine for example.” – Reddit User
When you purchase a new rack, at least from RackSolutions, you’re using a product that comes with a return policy and has been refined by engineers for the past 20 years.
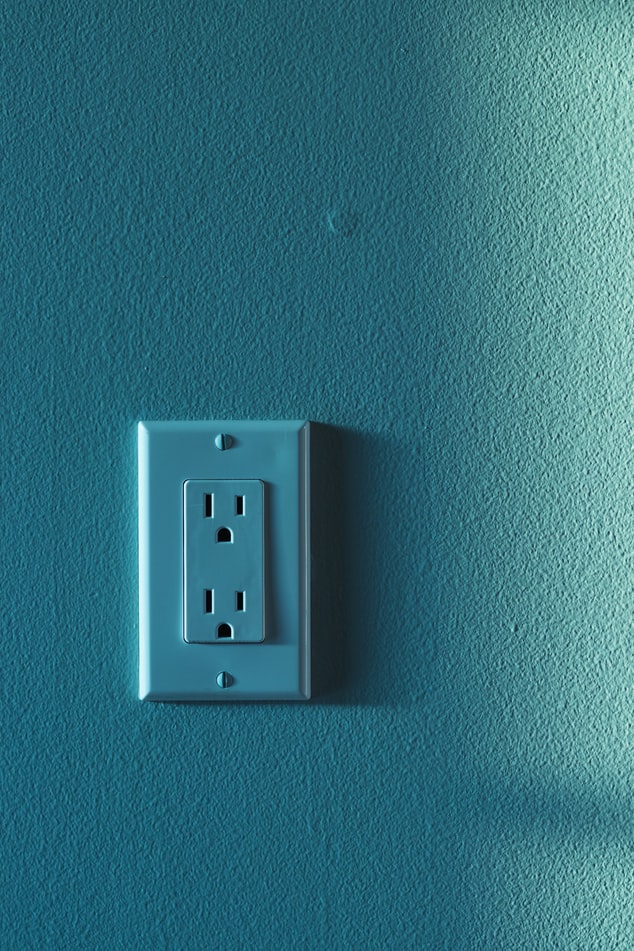
Make sure you have enough power outlets and that they’re close
Everyone has been in a situation where a ‘wall wart’ has prohibited them utilizing all outlets. This same situation can occur in the final steps of your server building process.
Ensuring that your wall outlets can handle the size and voltage of everything that you need to plug in is very important. Otherwise, you could end up needing to run extension cables from elsewhere or installing new outlets. Nobody enjoys not being able to close a door due to a necessary extension cable and creating new outlets can be costly.
Leave room to manage cables
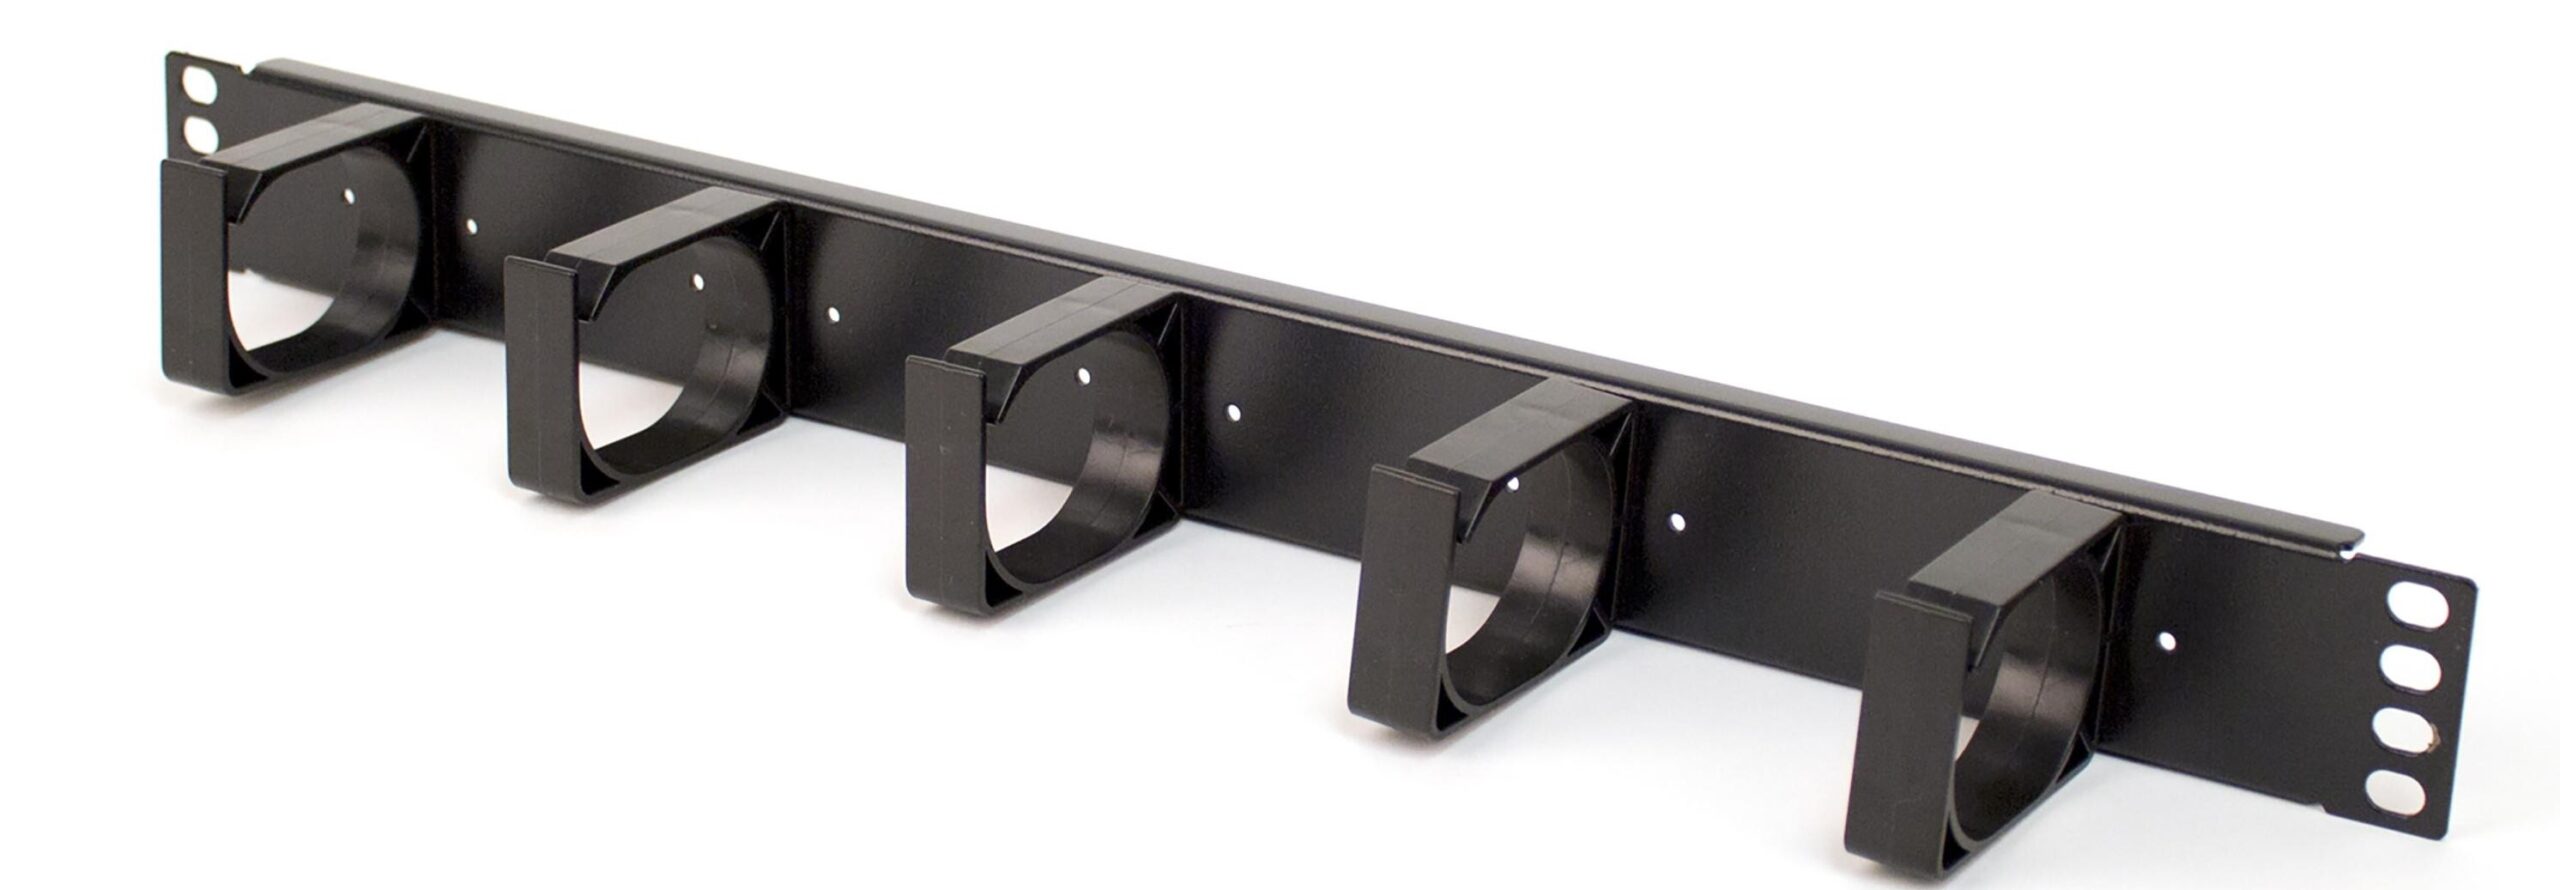
If a rack is filled head to toe with equipment, you won’t be able to use certain cable management bars. Even cable management arms can be difficult to access if you have a full rack that is backed to a wall.
Networking cables can be delicate, particularly fiber optic cables. If you end up in a position where extra force needs to be applied to manage cables, you could be risking the integrity of them.
Other server rack building tips
We’ve only gone over a few of the issues that are seldom brought up in instruction manuals. If you want more content regarding how to properly set up server racks and underlying equipment, check out some of our previous blog posts. If you still have questions, feel free to contact us.